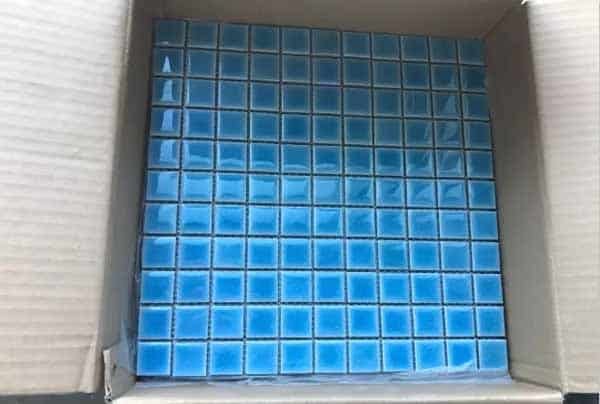
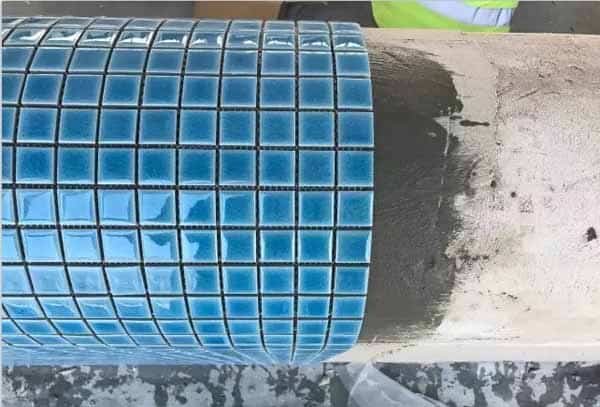
Ceramic brocade brick is also called mosaic
Refers to a variety of small ceramic tiles with a single side length of no more than 40mm
Combined into monochrome, spot, geometric pattern, etc
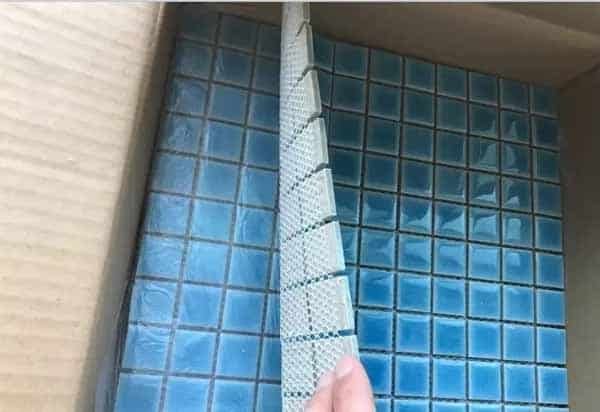
It is pasted on kraft paper or nylon mesh by the manufacturer
Ceramic tiles in one set
Ceramic brocade brick has good vitrification and high strength
It has good gas resistance and is full of decoration
It is used to lay the ground, anti-skid, wear-resistant, cheap, and high-quality
It is widely used in floor decoration of family toilets, toilets, and places with plenty of water
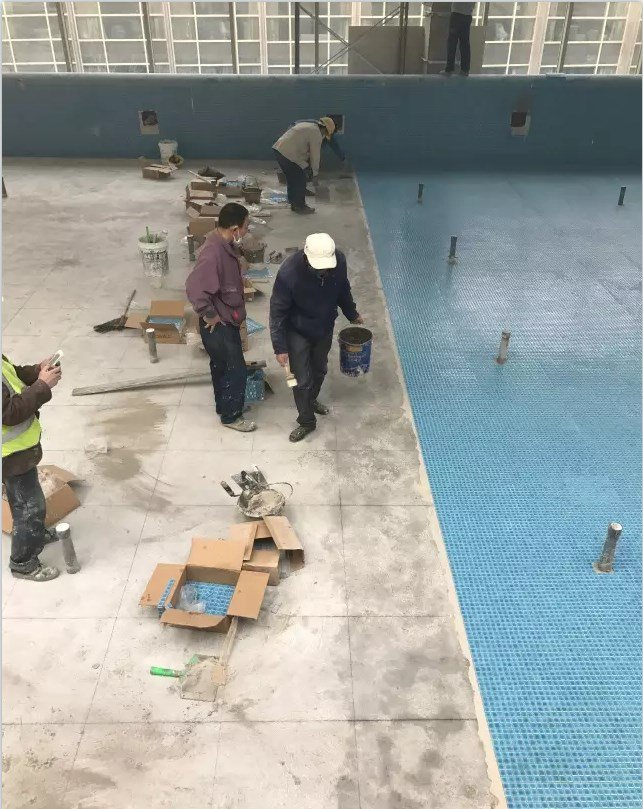
Let’s take a look at the whole construction process of pool mosaic today
Construction process
Base course treatment → sweeping cement mortar binding course → paving mosaic
→ corner joint repair → joint wiping and filling → maintenance
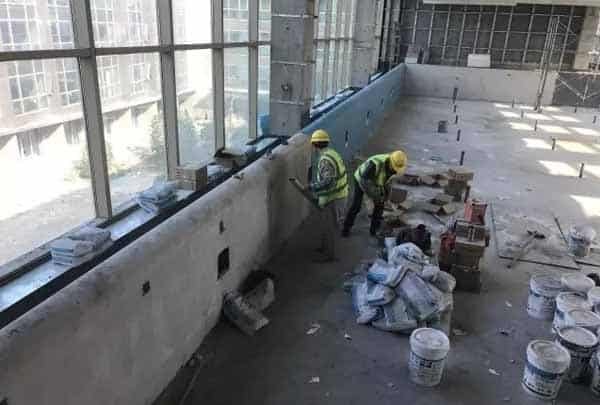
Base treatment
The smooth cement floor shall be roughened
Or brush interface treatment agent after washing
On oily ground
Brush with 10% caustic soda
Rinse with clean water
The pit shall be thoroughly washed and leveled with mortar
For the concrete rough base
Remove mortar skin and dust
And rinse it with clean water
The loose part of the base course shall be removed
Reinforcement shall be carried out after cleaning
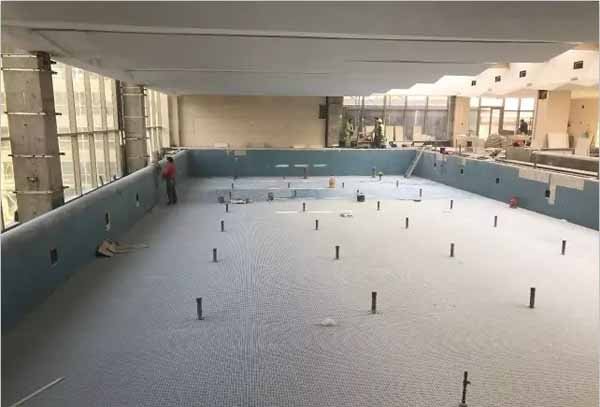
For the pool
Also, do a good job in multi-layer waterproof
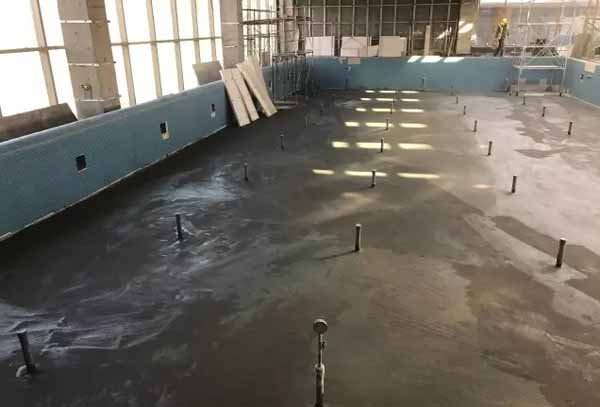
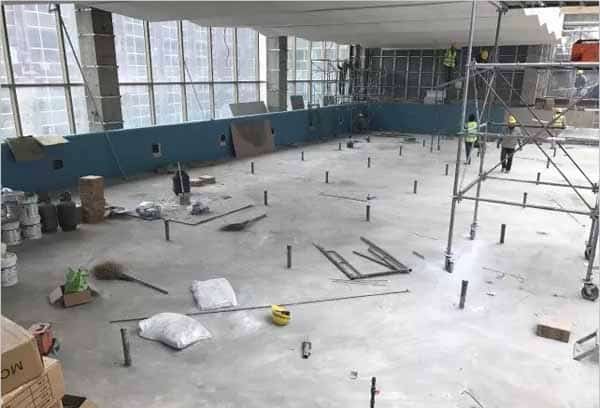
Sweep the plain cement slurry bonding layer
Sprinkle water evenly on the cleaned ground
Then evenly sprinkle 0.5 cement mortar with a broom
Or water group: 107 glue: water 1:0.1:4 polymer cement slurry
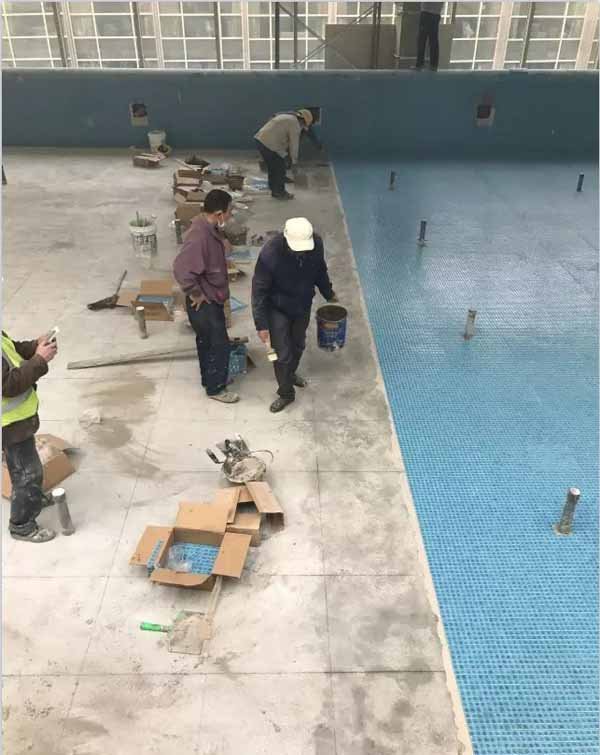
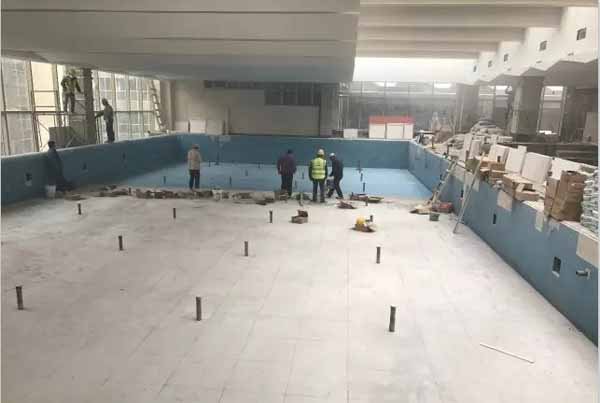
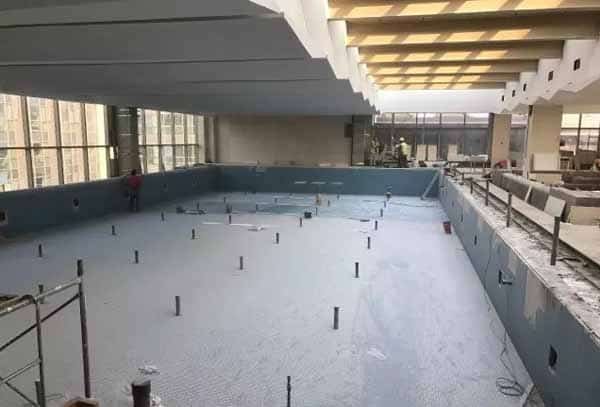
Paving ceramic brocade brick
The laid room shall be square
Pop up square vertical and horizontal lines on the leveling layer
Calculate the number of ceramic brocade tiles to be paved according to the construction detail drawing
If it is less than the whole sheet, it shall be thrown to the corner
The paper cutter can be used to pad the board and cut it into pieces of the required size
Strip paving with a half sheet or less than half sheet
To ensure that the quality of edges and corners is consistent with that of large-area surface course
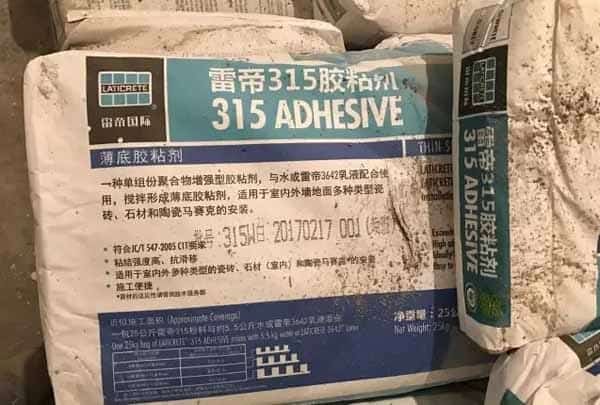
Lay ceramic brocade tiles with ceramic tile adhesive
From the inside out along the control line
(it can also be paved by throwing edges, and it can also be paved from the door when two rooms are connected)
Our swimming pool adopts the double-adhesive layer method
That is, scrape a layer of 2mm plain cement slurry or mortar on the wet leveling layer
At the same time, a layer of 1mm thick cement slurry is also scraped on the back of the ceramic brocade brick
All brick joints must be scraped full
Immediately snap the ceramic brocade brick to the specified position
Accurate and appropriate
After leveling, use a wooden clapboard to flatten and compact
And check the flatness and horizontal and vertical conditions at any time

Corner joint repair
When the whole room is paved
A large flat wooden board shall be padded on the brocade brick surface
So as to disperse the pressure on the brocade brick
The operator shall stand on the base plate and repair the surrounding corners
Repair the joint between the brocade brick floor and other floors
Ensure that the joints are straight and beautiful
Sewing
Timely check whether the gap is uniform
For unsmooth and unsmooth gaps
Use a small guiding rule to gently straighten and straighten the knife compared with the steel sheet
First, pull the vertical seam and then the horizontal seam
Then clap the brick surface with a hard clapboard
It shall be stitched, compacted, and leveled at the same time
In case of particle dropping, it shall be filled and glued immediately
Ceramic brocade tiles around floor drains and pipes shall be trial laid in advance
Cut it into proper shape with the nutcracker and lay it
Ensure that the connection of the pipe orifice is inlaid, consistent, and beautiful
The joint gap here shall not be greater than 5mm
After straightening the seam, gently sweep away the residual slurry on the surface
Caulking
The next day after jointing or after the final set of cement slurry bonding layer
Wipe the joint with plain cement slurry of the same color as ceramic brocade brick
Use cotton yarn to dip in at least the slurry and wipe the right seam from inside to outside
Or fill the joint with 1:2 fine sand cement slurry
Then, wipe the residual slurry on the brick
And sprinkle a layer of dry ash to thoroughly clean the surface
The ceramic brocade tile floor should be paved continuously in the whole room at one time
The joint pulling and cleaning shall be completed before the final set of the cement slurry bonding layer
Curing
After wiping the ceramic tile floor for 24h
It shall be cured at room temperature for 4 ~ 5D
Only when it reaches a certain strength can it be allowed to ascend

One Response
I need to to thank you for this good read!! I certainly loved every bit of it. I have you bookmarked to check out new stuff you postÖ